How to Build a Wood Fence in Winnipeg, Manitoba: A DIY Guide
Updated: Aug 7
Building a wood fence yourself is realistic for a motivated homeowner with basic tools, but it comes down to three things done right: setting posts below the frost line with proper drainage, keeping every post plumb and evenly spaced, and using pressure-treated lumber rated for ground contact. Skip any of these and even a fence that looks great on day one will start failing within a few Manitoba winters.
A DIY wood fence project can save on labour, but it takes real planning to get a result that holds up the way a professionally installed fence does. Winnipeg's freeze-thaw cycle is unforgiving, and most of the mistakes that shorten a fence's life happen below the ground, where nobody sees them until it is too late.
This guide walks through the full process, from planning to the final board, along with the decisions that matter most for a fence that lasts.
At a Glance: What You Need to Know Before You Start
Confirm your property lines before you dig anything
Set posts below the frost line with proper drainage material
Use pressure-treated lumber rated for ground contact
Space posts evenly, typically six to eight feet apart
Keep every post plumb as you go, not just at the end
Budget more time than you think; this is not a rushed weekend project
Know when a DIY fence makes sense and when it doesn't
How Deep Should Fence Posts Be Set in Manitoba?
Posts need to go below the frost line to resist the ground movement that comes with Manitoba's freeze-thaw cycle. The exact frost depth requirement varies by property and municipality, so confirm the specific number with your local building authority or an experienced local contractor before you dig.
Step 1: Confirm Your Property Lines
Before anything else, know exactly where your property line sits. Building even slightly onto a neighbour's property can turn into a dispute that costs far more than the fence itself. For a full rundown of everything to check first, see our guide on preparing your Winnipeg yard for a fence installation. If you're at all unsure, a property survey is worth the cost of certainty.
Step 2: Plan Your Layout and Order Materials
Map out your fence line and decide on post spacing, typically six to eight feet apart for a standard wood fence. From there, you can calculate how many posts, rails, and boards you'll need. Pressure-treated lumber rated for ground contact is the standard choice for posts, since untreated wood breaks down quickly against Manitoba soil and moisture.
Step 3: Dig Your Post Holes
This is the step that determines whether your fence lasts five years or twenty-five. Holes need to go below the frost line, and the width should give you enough room to properly backfill around the post. What you use to backfill matters just as much as the depth. A well-draining base material around the post reduces the moisture buildup that drives frost heave, the process where trapped water freezes, expands, and pushes a post upward or sideways over successive winters.
Step 4: Set and Level Your Posts
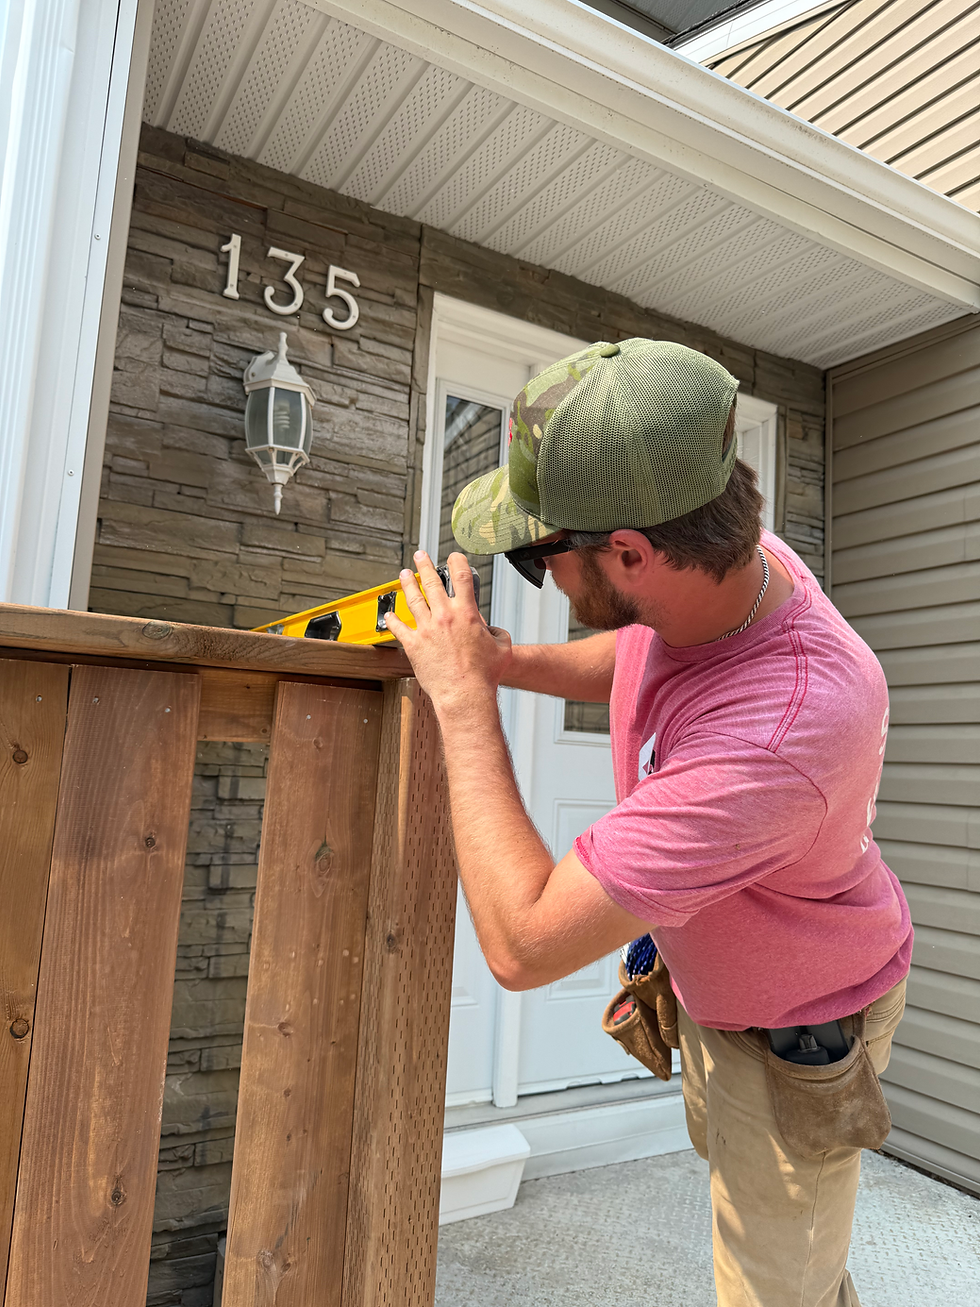
Set each post, check it for plumb on two sides with a level, and brace it while the backfill settles. This is not a step to rush. A post that is slightly off plumb is hard to correct later and will throw off every board you attach to it. Check each post again after backfilling, since posts can shift slightly during this process.
Step 5: Attach Rails and Boards
Once your posts are set and stable, attach horizontal rails between them, then fasten your fence boards. Keep a consistent gap between boards if you want airflow, or install them tight together for full privacy. Use exterior-rated screws or nails, since standard hardware will rust and stain the wood over time.
Step 6: Add Gates and Hardware
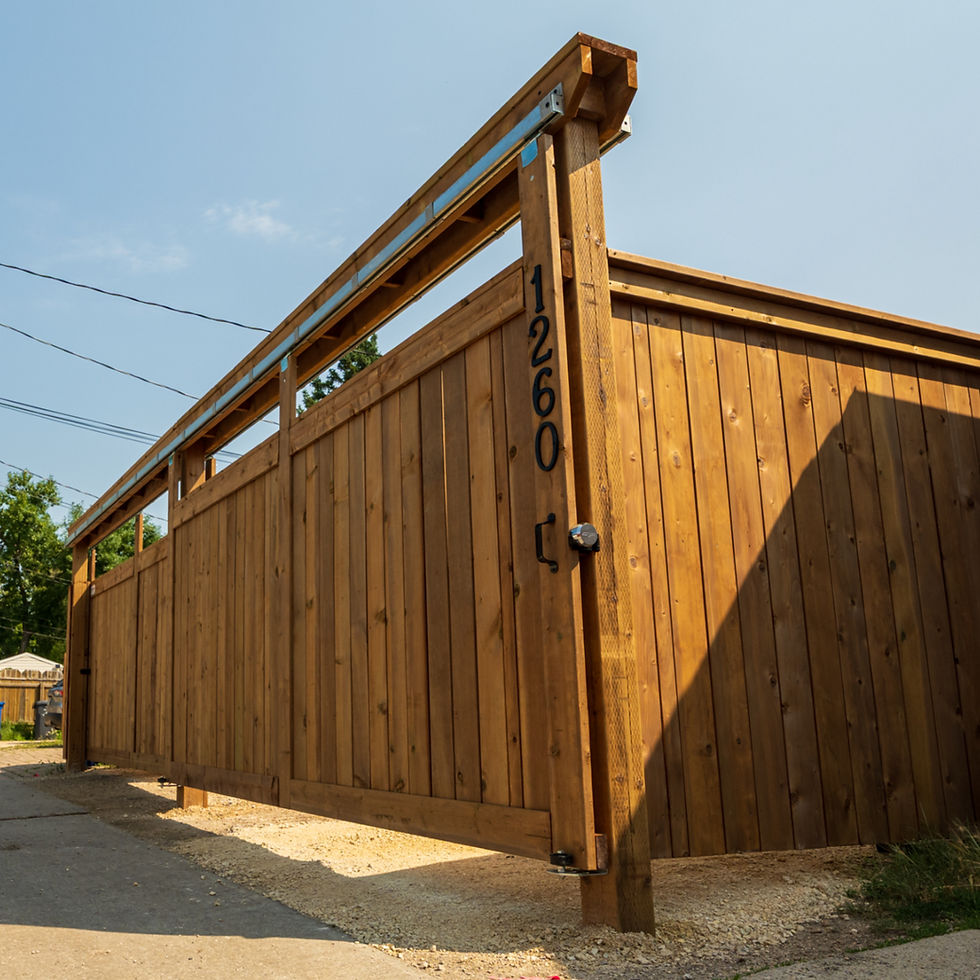
Gates are one of the trickiest parts of a DIY fence build, since they need to swing freely without sagging over time. A gate header, a horizontal support piece between the two gate posts, helps prevent the posts from leaning inward under the gate's weight and keeps the gate aligned as the wood settles. If you'd rather leave your wood gate to the pros, that's one of our specialties.
Step 7: Finish and Protect the Wood
A fresh wood fence benefits from staining or sealing once it has had time to dry out from installation, generally after the first season. This step protects the wood against Manitoba's UV exposure and moisture swings and is one of the easiest ways to extend the life of the whole project.
Real Scenarios: Is DIY Right for Your Fence Project?
"I have basic tools and some weekend time, and my yard is a standard rectangular lot." This is a reasonable DIY candidate. A straightforward, level lot with no major obstructions is the easiest scenario to take on yourself.
"My yard has a slope, or the fence line runs near a back lane or shared property line." These situations add real complexity, uneven post depth, drainage considerations, and property line precision. It is worth at least consulting a professional before starting, even if you plan to build it yourself.
"I want a fence, but I am not confident in getting the post-setting right." This is the single most important part of the whole project and the hardest to fix after the fact. If you are unsure here, this is the one step worth hiring out even if you DIY the rest.
"I just want it done right without the learning curve." A professional installation gets you the post-setting method, the plumb accuracy, and the finished result without the trial and error, and it is often faster than expected once you get a quote.
Frequently Asked Questions
What tools do I need to build a wood fence myself? At minimum, a post hole digger or auger, a level, a tape measure, a saw, and a drill or impact driver. A power auger makes post holes significantly faster if you're doing a long fence line.
How long does it take to DIY a wood fence? This varies widely based on fence length and property conditions, but plan for it to take considerably longer than a professional crew, since post-setting and levelling take real time to get right.
Can I set fence posts in concrete instead of gravel? Both are used in the industry. Gravel offers better drainage around the post, which can reduce moisture-related movement over time, while concrete offers more rigidity. The right choice depends on your soil and drainage conditions.
Do I need a permit to build a fence in Winnipeg? Requirements can vary by property and municipality. Check with your local building authority before starting to confirm what applies to your specific project.
What's the biggest mistake first-time DIY fence builders make? Rushing the post-setting step. It's the part of the fence nobody sees once it's finished, but it's the part that determines almost everything about how long the fence actually lasts.
Antoine Leblanc A+ Fences | Surround Yourself with Quality 204-250-8246 antoine@aplusfences.ca
A+ Fences proudly serves Winnipeg and Southern Manitoba. If you'd rather skip the trial and error, reach out for a quote and we'll build it right the first time.